Thursday, 7 November 2024
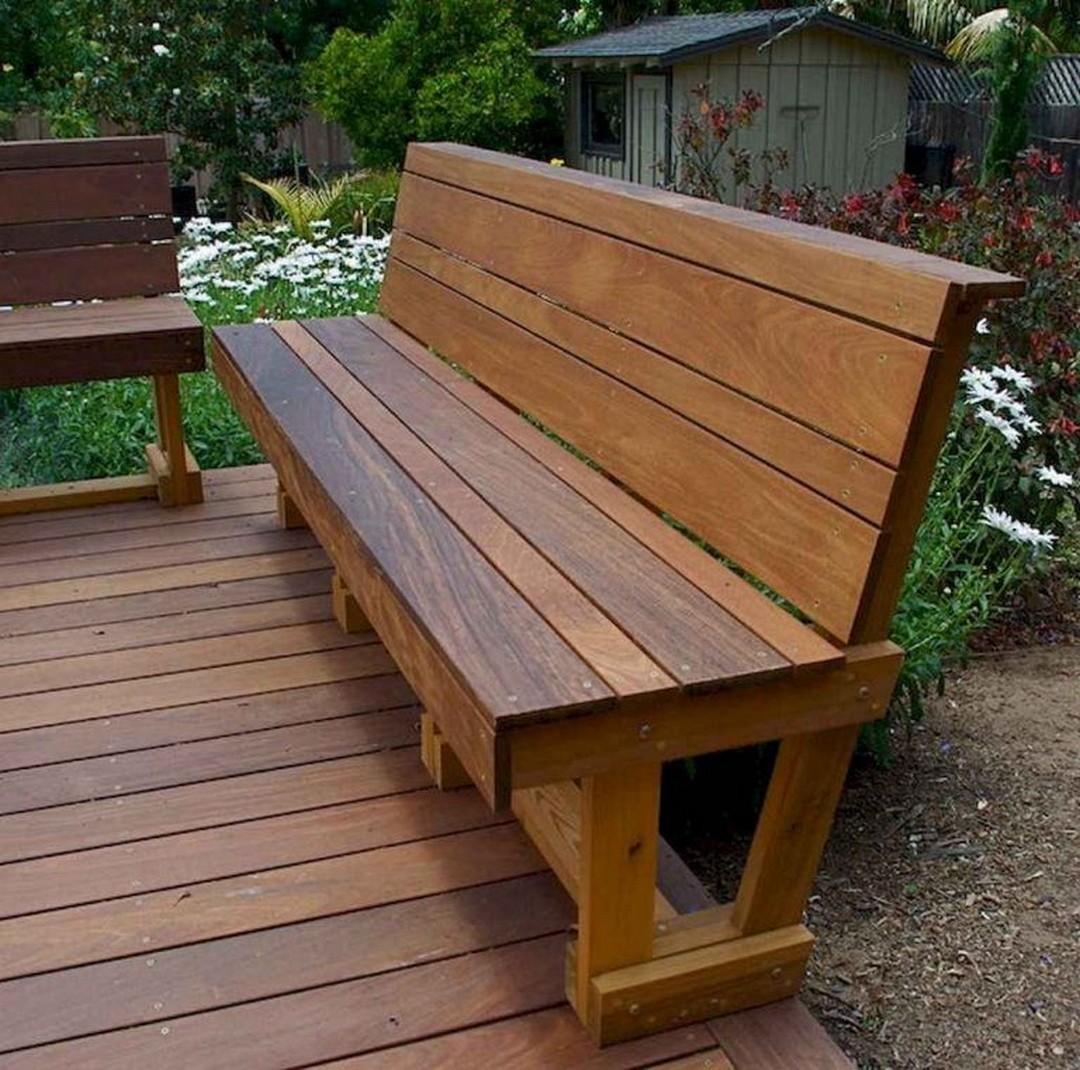
Build a wooden garden bench to relax outdoors

Alright, folks, let's get our hands dirty! Summer's coming, and you know what that means? Spending more time outdoors, soaking up the sun, enjoying the fresh air... and maybe just needing a place to sit and relax! What better way to do that than with a homemade garden bench?
Don't worry, this isn't some complicated carpentry project. We're gonna keep it simple, but stylish, and the best part? You'll have a custom bench built exactly to your taste and the dimensions of your garden.
So, grab your tools, gather your materials, and let's get started!
### Materials:
First things first, let's talk materials. You'll need:
Lumber: Now, this is where you can personalize. You can use pressure-treated wood for durability, cedar for its natural resistance to rot and insects, or even reclaimed wood for that rustic vibe. I recommend using 2x4s for the frame and 2x6s for the seat and back. You'll need about 12 feet of 2x4s and 10 feet of 2x6s.
Screws: You'll need two types - long screws for attaching the frame to the seat and back, and shorter screws for assembling the frame itself. Get a good mix of sizes, say 2.5" and 3.5".
Wood glue: For extra strength and stability.
Stain or paint: To protect your wood and give it a nice finish.
Sandpaper: For smoothing out rough edges and achieving a polished look.
Measuring tape, pencil, level, and saw: The basic tools you'll need for cutting and assembling the bench.
### Construction:
Alright, now for the fun part - building the bench!
1. The Frame:
Cut your 2x4s: You'll need two pieces that are the length of your desired bench (I'm making mine about 4 feet long). These will be the side rails.
Cut two more 2x4s: These will be the legs, and they should be about 18 inches long.
Assemble the frame: Lay the two side rails flat on the ground, parallel to each other. Place the legs at each end of the side rails, ensuring they are square. Attach the legs to the side rails using screws and wood glue.
Reinforce the frame: Add crosspieces for extra support. Cut two more 2x4s to the width of the bench, and attach them to the inside of the frame using screws and wood glue.
2. The Seat and Back:
Cut the seat boards: You'll need two 2x6s that are the same length as your bench.
Cut the back boards: For a comfy backrest, cut three 2x6s to the length of your desired back height.
Attach the seat: Place the two seat boards onto the frame, ensuring they are flush with the top. Use long screws to attach them to the frame, going through the side rails.
Attach the back: Arrange the back boards on top of the seat, leaving a small space between them. Use screws to attach the back boards to the frame, ensuring they're securely fastened to the side rails.
3. Final Touches:
Sand everything: Use your sandpaper to smooth out any rough edges and give your bench a nice finish.
Stain or paint: Choose your favorite color or stain and apply it evenly to all surfaces. Let it dry completely.
And there you have it! A custom-made, comfortable garden bench built with your own two hands.
### Tips and Tricks:
Measure twice, cut once: This is crucial! Always double-check your measurements before making any cuts.
Pre-drill holes: This prevents the wood from splitting when you screw it together.
Use a level: Ensure your bench is level and stable before attaching the seat and back.
Add a little flair: Get creative! You can add decorative trim, carve designs into the wood, or even attach cushions for extra comfort.
### Enjoy your masterpiece!
Now, the best part - sit back and relax on your beautiful new bench. Enjoy your morning coffee, a good book, or simply the quiet serenity of your garden. You've created a piece of furniture that's both functional and stylish, and you can be proud of your DIY achievement!
And remember, there are endless possibilities! You can build benches of different sizes, with armrests, or even incorporate storage compartments. So, unleash your inner carpenter, and create a custom garden oasis that's perfect for your outdoor living space. Happy building!